Features
Adding assets manually
Category, Manufacturer, Assets Model, and Suppliers are the main criteria required to add assets to the system.
Create a category for the asset.

Select the "Categories" from the dropdown list of settings located on the bar on the left side of the window. Then select "Create New" and fill in the details according to the asset category.
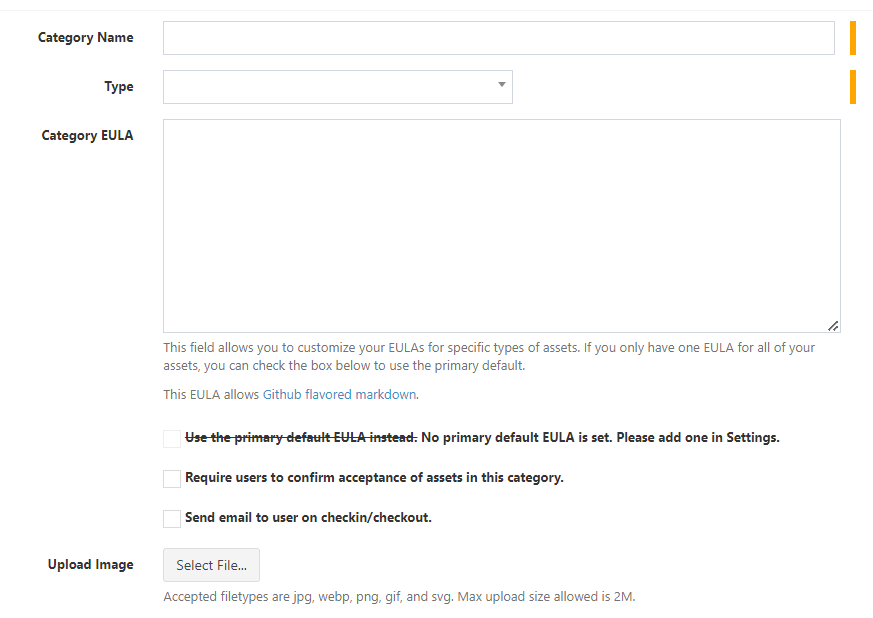
- Category Name - Name of the category
- Type - Select what types are used in this category. (Asset, Accessory, License, etc.)
- Category EULA - This field allows customizing your EULAs for specific types of assets.
- Use the primary default EULA instead. No primary default EULA is set. Please add one in Settings - You can add a default EULA from Admin Settings > General Settings > Default EULA
- Require users to confirm acceptance of assets in this category - Yes or No
- Send email to user on checkin/checkout - Yes or No
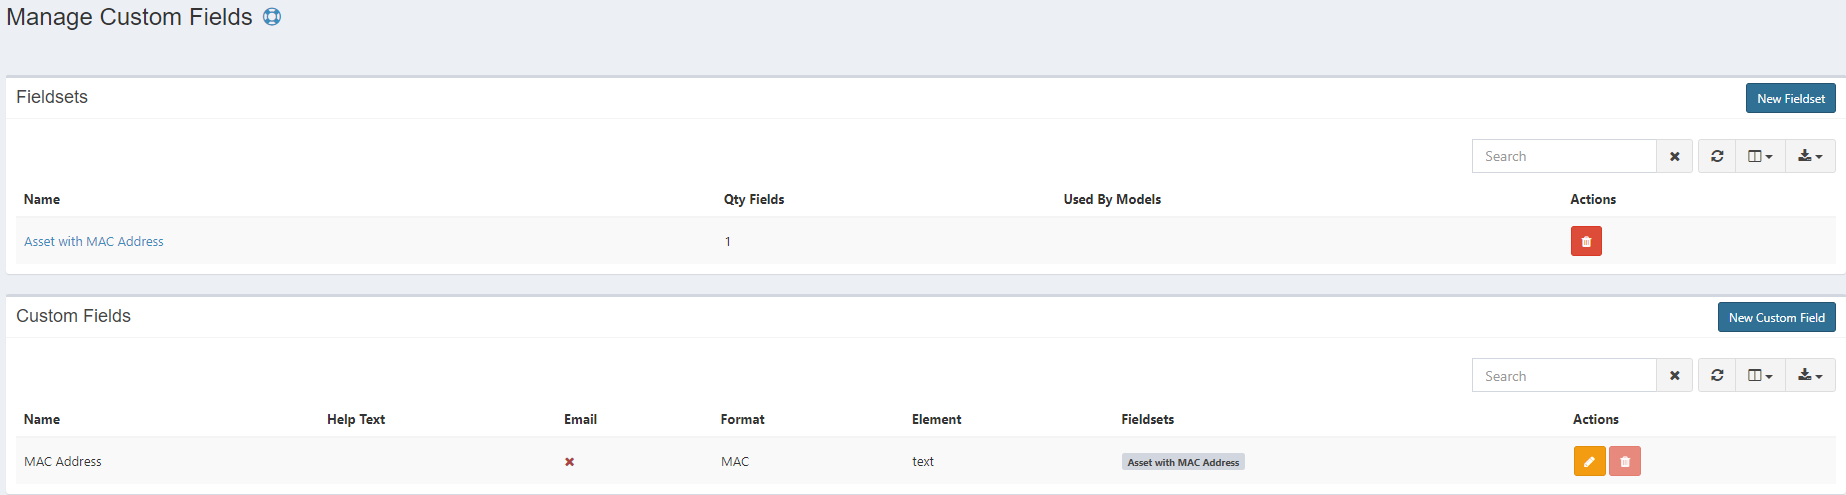
Create custom fields if default fields are not sufficient.

Select the “Custom Fields” from the dropdown list of settings. First, create a new “New Custom Field” for the asset. Then create a “New Fieldset” and connect it with the newly created custom field.
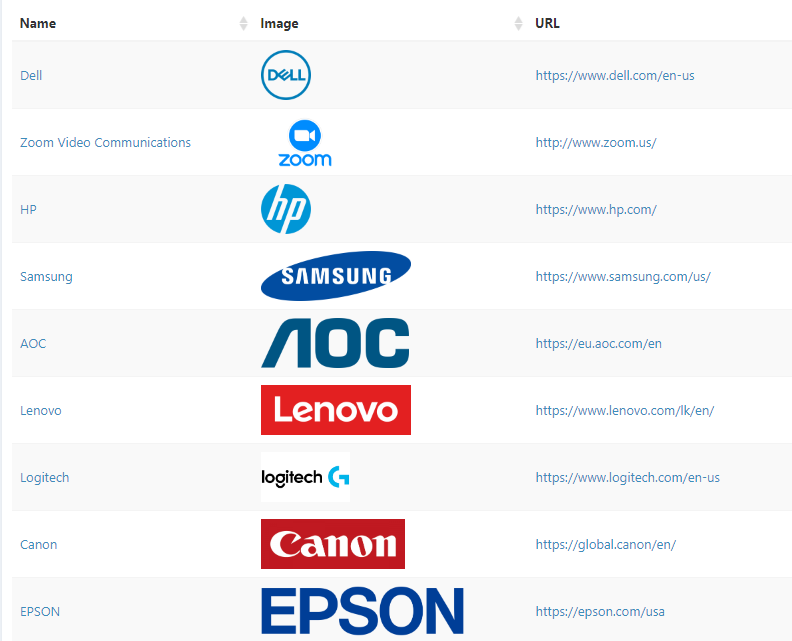
Create the manufacturer of the asset/assets.

Select "Manufacturers" from the settings and then select "Create New" to onboard the manufacturer of the asset to the system.
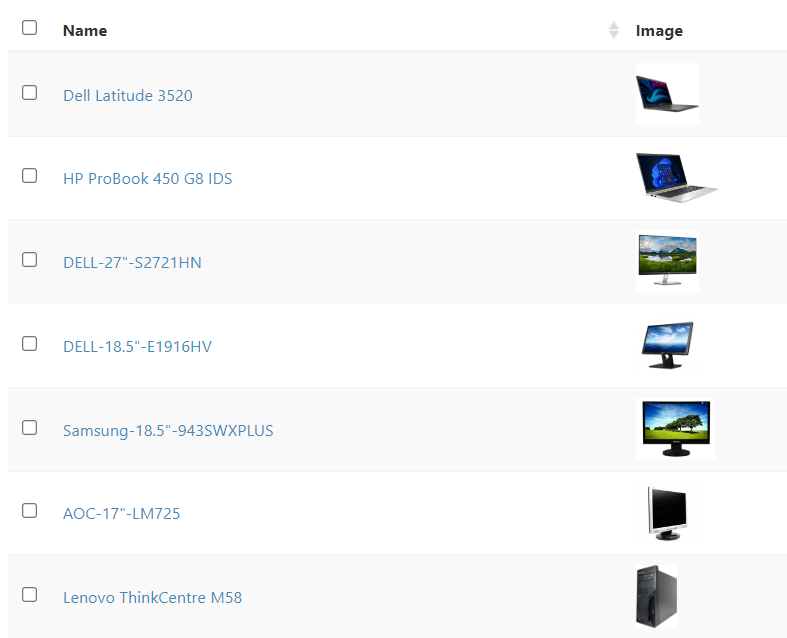
Create an asset model.

Select "Assets Models" from the settings and then select "Create New" to a create new asset model.
Asset Model Name - Name of the asset model
Manufacturer - Select the manufacturer created at the
step 3.Category Name - Select the category create at
step 1.Depreciation - Create depreciation (Settings > Depreciation) and add it if your asset model has a depreciation.
EOL - End-of-Life of the product.
Fieldset - Select the fieldset created at the
step 2.Users may request this model - Users can request this asset from their accounts if this is selected.
Image - Upload the asset model image to the system. Supported formats are jpg, webp, png, gif, and svg.
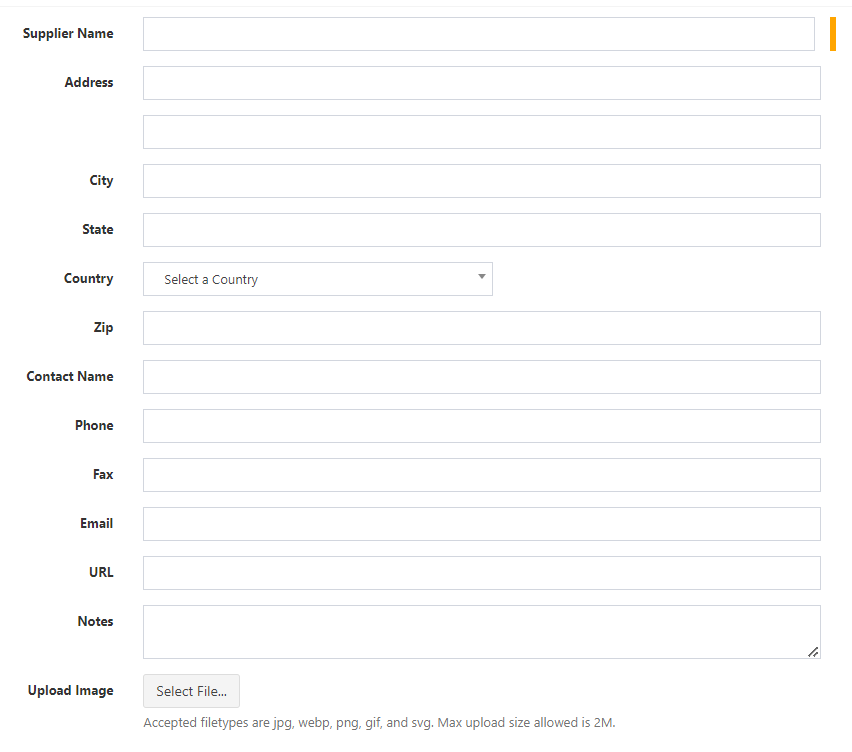
Create the supplier of the asset/assets.

Select “Suppliers” from the settings and then select “Create New” to add a new supplier to the system by filling in their details.
Add the asset to the system.

Select "Create New" and then "Assets" from the top main bar to add an asset to the system.
Company - Select the name of the company or division if you have more than one company or division onboarded. Otherwise, leave it empty.
Asset Tag* - Tag of the asset. It must be unique. A mandatory field.
Serial - Serial number of the asset. A mandatory field.
Model* - Select the model created at the
step 4.Status* - There are four pre-configured statuses, and you can present the condition of the asset using them. You can check out the asset to the user, another asset, or location if you select the "Read to Deploy" option. A mandatory field.
Asset Name - Name of the asset.
Supplier - Select the supplier created at the
step 5.Default Location - The default location of the asset belongs.
Requestable - Users can request this asset from their accounts if this is selected.
Upload Image - Photo of the asset. Better to update with the current condition of the asset.
